A study produces a lot of loose ends: the papers you read, the dataset and recordings, the analysis chats, the report an agent wrote last week and the draft you are slowly turning it into. When those live in different places, the most time-consuming part of writing is finding things again.
In Neutropic 2.5 a project is the home for one study, and a notebook is where the writing happens. Agents run inside the project, their reports become notebooks, and the notebook cites the same papers you uploaded. This post walks through both.
A project is one study
In the left panel, press + next to My Projects, give the project a name and choose Create. The project page has three tabs:
- Files — the papers, datasets and recordings you uploaded with Upload Files. Search, sort, and select several to move, download or delete. Clicking a PDF opens it full-size with a chat about that file beside it.
- Notebooks — the project's drafts.
- Chats — every chat that belongs to the project.
At the bottom, the composer — Give me any task on this project — starts a chat inside the project. Select files in the table first and they go into the task's context. Files uploaded on the project page belong to the project, so every chat in it can use them.
Already have chats that belong to this study? Open a chat's ⋯ menu in the left panel and choose Add to project. A chat that is already in a project offers Change project and Remove from project instead.
Files that answer questions: AI columns
The Files tab is a table, and you can add columns the AI fills in for every file — Sample size, Methods, Main findings, Limitations. For a folder of papers, that is the start of a literature matrix without copying a single cell by hand.
- Press Add Column. Pick one of the Suggestions, or under Add Custom Column give a Column name and optional Instructions, then Create.
- Each value comes with a citation. Hover it to see the snippet it came from, and press Locate in File to jump to that page in the PDF — or to the moment in a recording.
- Under Added Columns you can hide, reorder, regenerate or remove columns. When a file doesn't address the question, the cell says Not addressed in this file. rather than guessing.
Quality sets the model that fills the columns:
| Quality | Best for |
|---|---|
| Lite | Fast, lightweight extraction |
| Pro | Most papers |
| Expert | Dense or technical papers |
Regenerating a column asks first, because it uses tokens for every file. When the table is ready, Export as… saves it — file names and every column — as CSV, Excel, JSON or XML.
Agents inside a project
Tasks you start from the project's composer — and agent chats you move in with Add to project — keep their chat, files and report with the study. A narrative review of the literature, a data analysis of your survey and an EEG or physiology analysis of your recordings all end up on the same Chats tab, next to the papers they draw on.
Using the papers selected in the table, summarise how previous studies measured perceived stress and which instruments they used.
From report to notebook
A notebook is a document inside a project. Create an empty one with + Notebook on the project page, or turn an agent's report into one: open the report in the file panel and press Save to notebook. Numbered citations in the report become notebook citations with a reference list, and its figures are copied into the project, so the draft keeps working when you start editing.
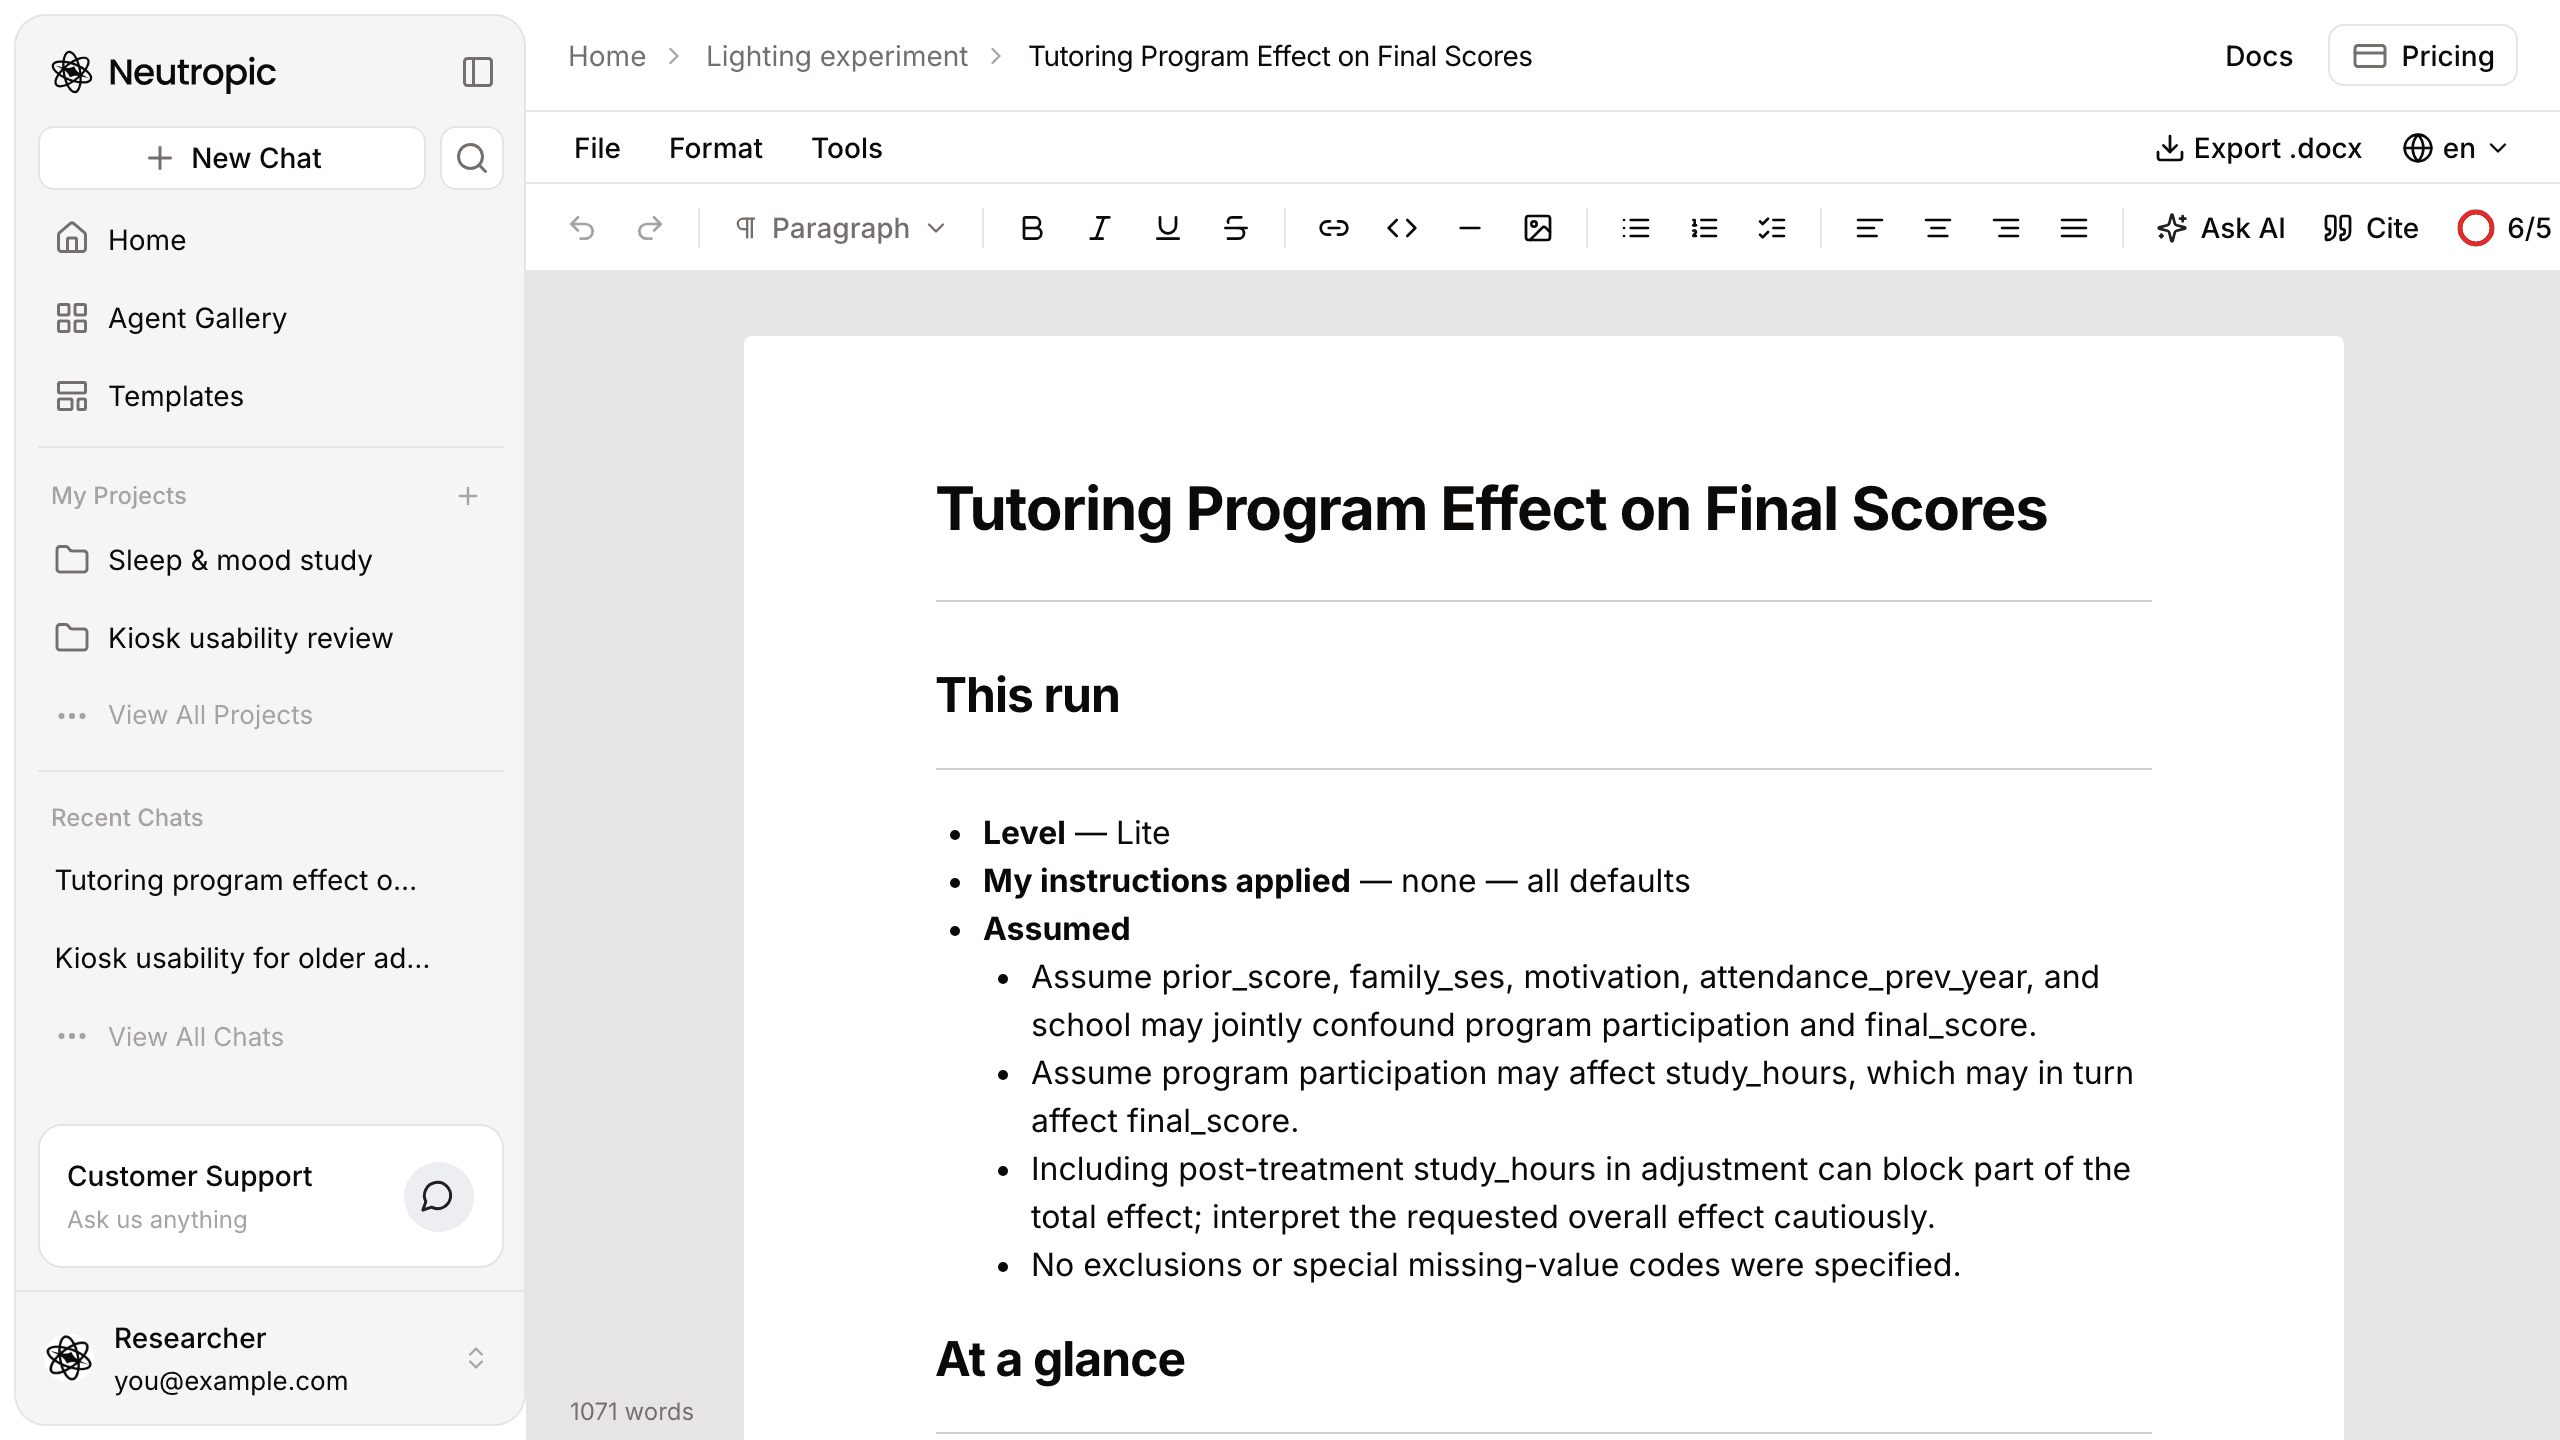
The first heading is the notebook's name, and changes save automatically.
Write with AI
On an empty notebook, Start writing with AI asks What are you writing today? and drafts from your answer. Once there is text on the page, type / at the start of a line to open the command menu:
- Type your own request at the top — Ask AI to write anything.
- Draft with AI — Continue writing with citations or Outline Builder.
- Generate from page — Write Introduction, Write Conclusion or Write Opposing Arguments, based on what the page already says.
- Turn into a heading, a list or a to-do list; Insert a table, a horizontal rule or an image.
Ask AI in the toolbar opens the same menu wherever the cursor is.
The globe button sets the AI output language — the language the AI writes in. It is English by default, you can search the list for yours, and it is remembered per notebook, so a Korean thesis chapter and an English manuscript can sit side by side in the same project.
Cite as you write
Press Cite in the toolbar, or type @, to add a citation at the cursor:
- Suggestions — papers that fit the paragraph you are writing, or your search words.
- Papers — search PubMed and Crossref.
- My library — the files uploaded to the project.
- Created by me — references you entered by hand.
- + Create new — enter a journal article, book, web page or other reference by hand, with a preview.
+ Cite inserts the citation and adds it to the reference list at the bottom of the notebook. Hover any citation to see its source. To change the format, press Style: APA (or the current style) and choose another from Choose a citation style — APA, IEEE, MLA, Chicago and others. Every citation in the notebook updates at once, and footnote styles add a Notes section.
When the draft is ready, Export .docx downloads the notebook as a Word document for your supervisor, co-authors or the journal's submission system.
Work on it together
Press Share on the project to open Share Project. Enter one or more email addresses under Invite Collaborators, choose Can View or Can Edit, and press Invite. Invited people see the project's files, notebooks and chats; editors can also upload files and run tasks. Who has access lets you change someone's access, remove them or cancel an invitation, and a people icon marks shared projects in the left panel.
To show a single result to someone outside the project, share just that chat with a read-only link instead — see Share a chat.
Next
See Projects and Notebooks in the docs for every option, and paper-writing agents and templates for drafting a full manuscript from the work already in a project.